How to paint a ukulele?
In this article from Nitorlack we will provide you with a step by step tutorial on how to paint a ukulele, with this process we will give it a more professional look, since the finish that comes with the wood of this type of instrument is not the most appropriate, but rather that of a toy rather than a musical instrument.
Following the steps in this guide, the result achieved has been very satisfactory, as well as being very easy to apply due to the products chosen for this purpose.
The aim of giving it a more professional finish has been more than achieved, here we explain how to do it.
Which products to use?
For this process the chosen products will be Nitorlack water-based dyes, which stand out for their ease of use and for being very economical compared to other products used for musical instruments.
Here is a link to buy our ukulele painting kit.
Step-by-step tutorial:
Preparation of wood:
- Sand the wood of the ukulele body with P240 sandpaper until the surface is smooth.
- Dampen the surface of the ukelele with water and let it dry to remove the peeling
- Let the wood dry and sand with P400 sandpaper to remove the skin and leave the ukelele ready to apply the stain.
- We cover with masking tape the surfaces that we don’t want to stain or avoid staining.
- With these steps you will eliminate the irregularities of the wood and leave it ready to receive the colour stain and obtain a more uniform application. It is important to carry out this process correctly because in many occasions the wood of these kits is of low quality and comes with many irregularities and impurities, which would make it difficult to achieve a good finish with the stain.
Colour application:
-
- Shake the bottle well before loading the sponge or the dabber.
- Try to get a wood similar to that of the ukulele to be able to test the colour before applying it, apply the dye on a sponge or rag
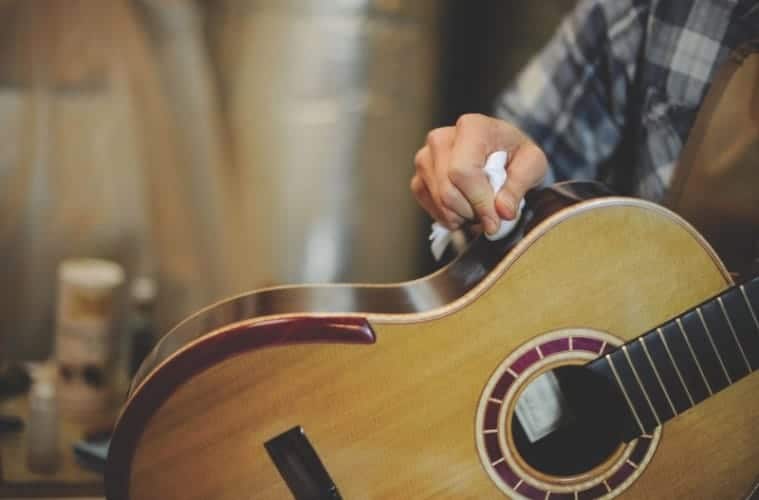
- On a small piece of sponge put 4 or 5 drops of dye and apply it directly on the guitar. Spread it evenly by making longitudinal movements all over the guitar until the dye is perfectly distributed.
- Work in sections, e.g. start from the lowest side and work upwards. Apply from the centre of the section outwards to avoid spilling over the sides.
- When you have finished applying the stain and it has dried thoroughly, remove any excess stain from the edges with a razor blade, leaving the wood ready for the spray finish to be applied.
Optional:
- Modify the colour and intensity you want to apply to your ukulele: In case you want to test and modify the colour you can choose more than one dye and mix them together, you can also lower the intensity of the chosen colour by diluting the dye with water, until you get the desired colour.
- This is an optional step as the colours come with a colour and shade suitable for direct use.
- You can also apply a second coat of dye to make the colour more intense, which I recommend for certain less intense colours.
Application of the finish:
- To do this I recommend applying the spray evenly, following horizontal and then vertical lines, trying to get more or less the same amount of product all over the surface.
- Once the first coat has been applied and 24 hours have passed, the wood should be sanded smooth and the process repeated 3 to 4 times.
Here is a video made by us where you can see how to apply all this process explained above, obtaining a good final result.
NOTE: the kit includes some standard products, with which you can get a good result with water based products, cheaper and easier to apply. However, if you wish to use or add other products to your project you can use any of our range of guitar paints, and get a good result.
If after this article you still have any questions please do not hesitate to contact us.


