What is the shielding of a guitar and what does it consist of?
In electric guitars and bass guitars, shielding is a process that is performed to block electromagnetic interference that can affect the sound of the guitar. Shielding is done in the body cavities that house the electronic components (pickups, potentiometers, etc.). Conductive paint should be applied to all areas of the cavity, including the back of the covers (pickguard, switch plates, etc.)
Basically it is a grounded conductive box inside the electronics cavities of the guitars.
How does this conductive shielding work?
Is it really necessary?
To fully understand what shielding is and how it works, we must understand what a Faraday cage is. A properly formed Faraday cage is an electromagnetically insulating and grounded enclosure that shields electronic components from external radio frequency interference (RFI) such as stage lighting, fluorescent lights, neon signs and even your own equipment such as amplifiers.
It is very important, but commonly overlooked, to properly ground the tape or paint. If the shielding is not grounded, it is worthless.
Conductive shielding products for guitars
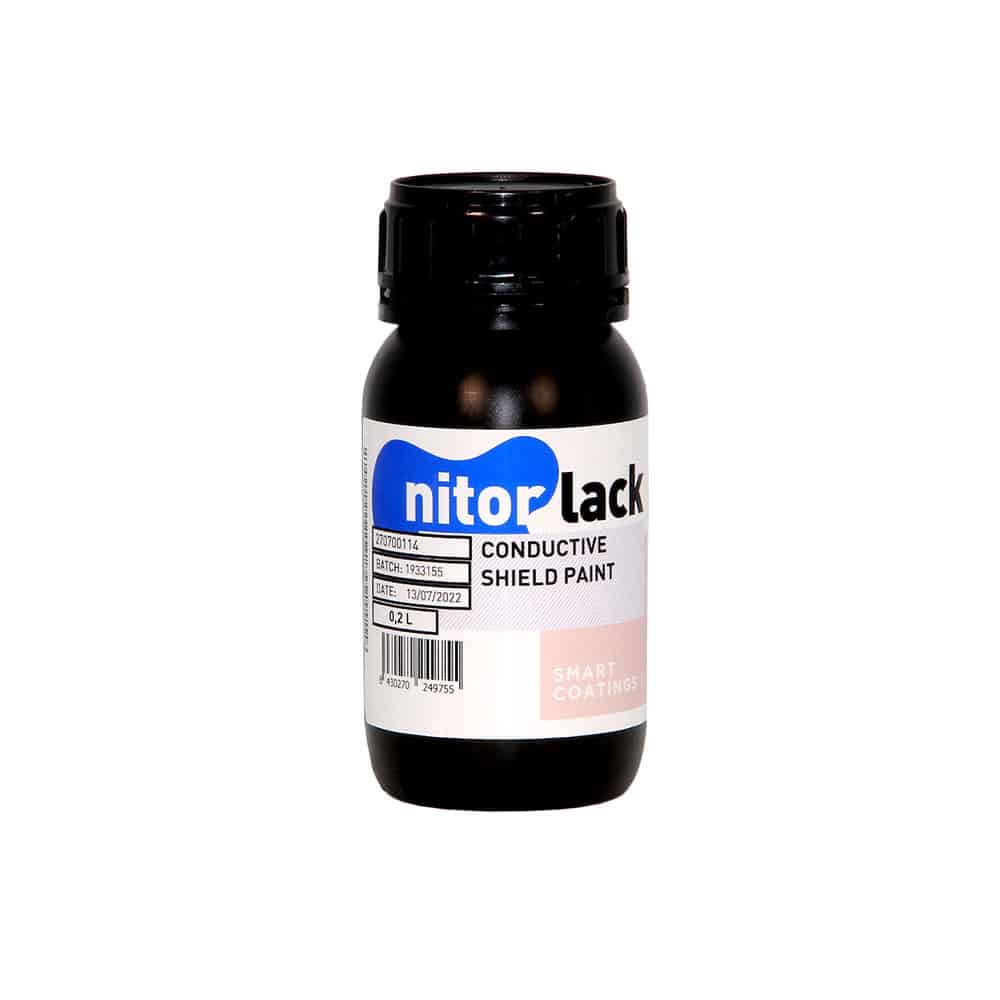
The best method of guitar shielding is conductive graphite paint specially designed for the purpose.
Conductive shielding paint provides a very effective method of insulating guitar electronics cavities, as well as offering advantages over other products such as copper tape in certain situations
Protective paint makes it much easier to apply protection in hard-to-reach areas and underneath components that you may not want to remove.
Here you have the link to the product developed by Nitorlack to get a good shielding of your guitar, you also have available a video explaining the process and the advantages of its application.
How to carry out the shielding process on your electric guitar
Protection of the guitar body cavities
The first step is to disassemble the guitar correctly, here is a tutorial on how to do this correctly.
The second step is to remove all components from the body cavities. This includes, but is not limited to, pickups, potentiometers, switches, input jack and wiring. Similarly, if equipped, remove the tremolo system, specifically including the block, springs, claw, screws and wiring
With the cavities clear, carefully clean the areas to be painted with a cloth and alcohol. Clean all exposed surfaces and allow to dry completely before applying conductive paint.
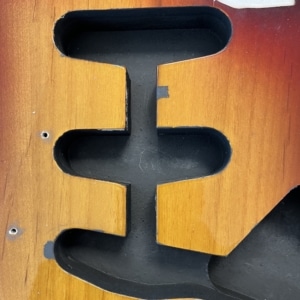
Cover with masking tape all surfaces that you do not want to paint, and with a small brush paint the complicated areas of the guitar cavity, finishing with the larger areas.
Leave a kind of outer “tongue” so that when closing the cavity it has contact with the underside of the knocker or electronics cover.
Make sure you get full coverage with a good layer thickness, we recommend applying 2 coats of product waiting 4 hours between coats.
Electronic boards and tappers
The rear side of the striker or the electronics boards must be insulated so that the Faraday cage closes when the striker or the boards are fitted.
We recommend sanding the plastic surfaces with P800 sandpaper for better paint adhesion
Grounding the shield of your guitar
Grounding is arguably the most important part of the process. It is also probably the easiest thing to do.
Cavity sealing is done when the “tab” of the paint in the cavities has a solid, direct contact with the back paint of the pickguard or electronics cover.
If this is done properly, you have effectively created a “sealed box” which is equivalent to a Faraday cage.
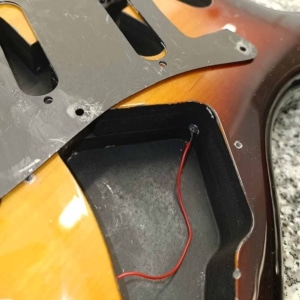
Inside the body cavity, use a metal washer attached with a screw to the electronics cavity wall. Then solder a circuit wire from the washer to the nearest guitar ground. This will ensure that your shielding is grounded.
Assembly and installation of parts
Reinstall all components in their original positions.
Whenever possible, it is a good idea to use electrical tape or heat shrink wrap to cover hot connections to prevent them from coming into contact with conductive paint.
To ensure correct operation, we can perform a conductivity check on the guitar by measuring the conductivity of any ground areas of the guitar electronics and the conductive paint we have applied.
If the process has been carried out correctly, we should observe a very significant decrease in noise and interference in the sound of our guitar, especially in single coil pickups, which are the ones that can pick up and produce the most noise and interference.
Professional tips for a good use of this product:
Have a work area with ample space and lighting. Do this process in a well-ventilated area and provide adequate cover over the work area (layers of paper, protective cloth, etc.).
Have a water cloth handy to quickly wipe off any paint left on the finish of your guitar.
Completely mask off the entire body of the guitar, except where protective paint is to be applied.