

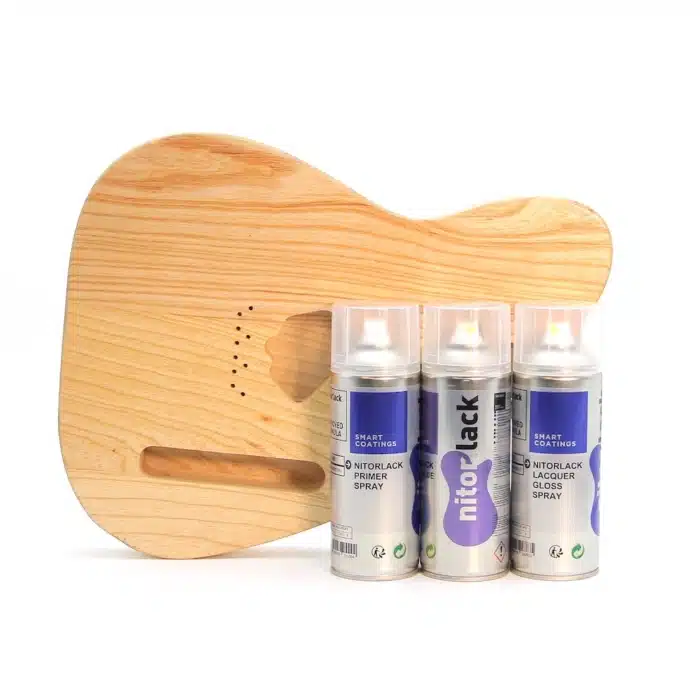
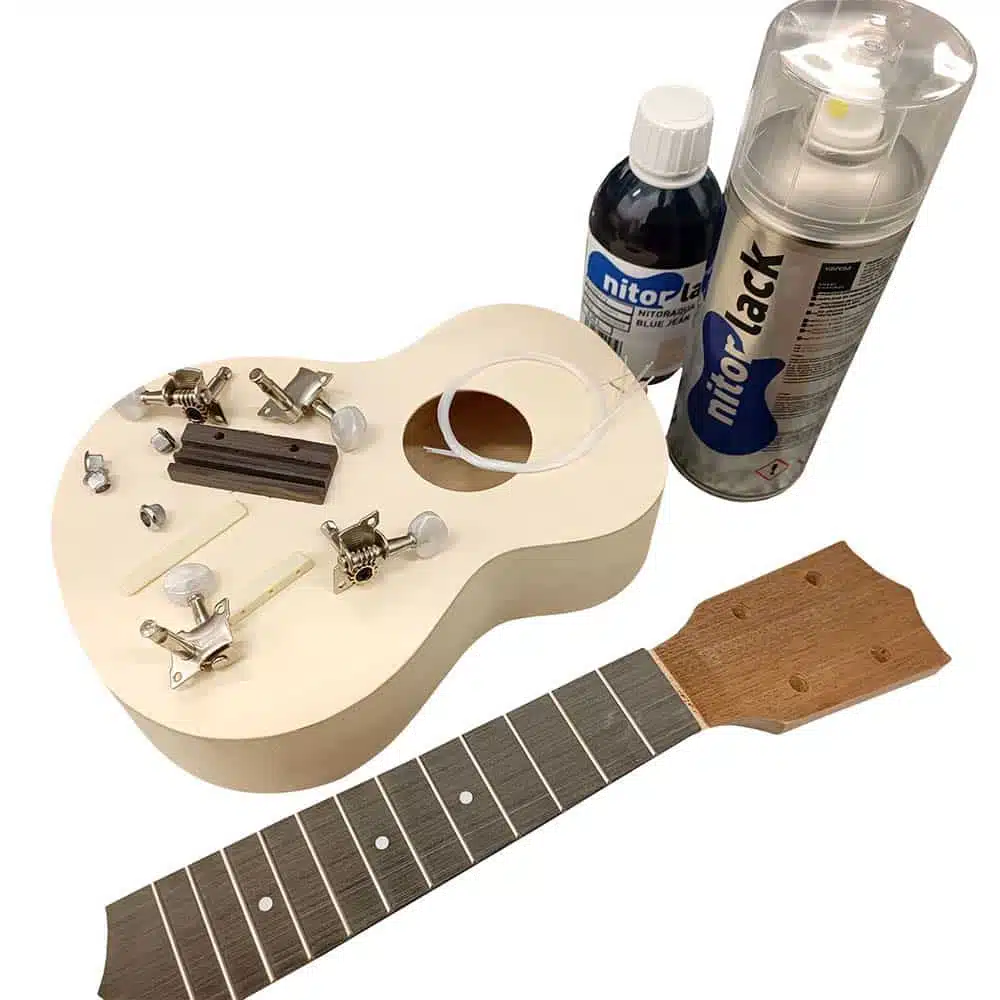
Kit to change the colour of your guitar
1- PREPARACION DEL SOPORTE
- Sand the wood with P800 grit sandpaper until the old finish of the guitar is completely matt in order for the paint to have a good grip.
- If the guitar has some previous blows, you should sand until the surface is even, you can use coarser sandpaper but always finish with P800.
2- COLOUR APPLICATION (1 or 2 sprays)
- Aplicamos capas de color lijando entre ellas con P800 dejando secar 24 horas entre capas. Se recomienda aplicar mínimo de 2 capas y hasta conseguir un acabado uniforme. Tener especialmente cuidado al lijar las primeras capas de color para no hacer pelados.
- Con un spray hay suficiente para dar 2 a 3 capas de color a un cuerpo. Si está previamente pintado y bien lijado con 1 es suficiente. Si te quieres asegurar puedes comprar 2 spray.
3- GLOSS OR MATT – NITORLACK LACQUER (1 by 2 spray)
- The application process for the topcoat is the same as for the base coat. Apply finish coats, sanding between coats with P800 and allowing 24 hours drying time between coats. It is recommended to apply a minimum of 3-4 coats.
- In the case of a GLOSS finish, once we see that the finish is completely uniform and the guitar is finished to our liking, it is important NOT TO SAND the last coat that we have applied and let it dry for 2 to 3 weeks to be able to polish and achieve the maximum shine.
- In the case of a MATT finish, the last coat will be the final finish and cannot be sanded or polished. Just let it dry for 48 – 72 hours.
- One spray is enough to give 2 to 3 coats of finish to a body. If you want to be sure you can buy 2 sprays.
4- POLISHING
- Sand in a gradual process with 1200-1500-2000 grit sandpaper until all application imperfections are removed.
- Try to sand in a straight line without exerting too much pressure so as not to make deep marks that will be difficult to remove with polish. It is advisable to apply a few drops of soap in water to make sanding easier.
- Apply a few drops of polish to the surface of the guitar and to the polishing sponge.
- It is recommended to polish at 1500 to 2000 rpm without pressure to avoid overheating the finish. Check the heating regularly during polishing.
- Carry out a first polishing process with MIRKA POLARSHINE 10 and the WHITE sponge. A mirror finish should already be achieved.
- Finish the polishing with MIRKA POLARSHINE 5 and the BLACK sponge. With this last process we will get an extra shine.
- Wipe off the polishing residues with a cloth and the guitar is finished.
GENERAL RECOMMENDATIONS
- Shake the sprays vigorously for 3 to 5 minutes before application. Apply to a witnessed surface before applying to the guitar.
- A Nitorlack finish, depending on different factors, should have a total of 6 to 10 coats in total, counting base – colour – finish, with a minimum of 3-4 coats of gloss finish. This will give a thickness of approximately 150 microns (0.15 mm) depending on how much sanding is done, how much lacquer is applied in each coat and what thickness of finish is desired.
- If an instrument has not been finished before, it is advisable to apply 9 to 12 coats to ensure that the finish is not over-sanded or over-polished, leaving parts of the wood “bare”. As more experience is gained with the product and the finishing method, fewer coats will be necessary and finer finishes can be achieved.
- If you accidentally get a “drop” or “drip” during application, allow the finish to dry for 24 hours and level it off by sanding with P400 sandpaper, preferably on a hard sanding block. Alternatively, the drip can be “cut” with a razor blade, which is a quicker method and avoids the accidents that can result from excessive sanding. In order to familiarise yourself with the process, it is a good idea to test the process of finishing a guitar with “Nitorlack” guitars on discarded wood, in order to evaluate for yourself the characteristics of the process.
- It is also advisable to use a “control” surface on which to apply the coats of lacquer at the same time as on the piece to be finished. A piece of paper stuck with masking tape to a rigid support (wood, thick cardboard) is one suggestion. This way, by first measuring the thickness of the paper with a caliper and then measuring the resulting thickness of the successive layers once they are dry, you will have a fairly accurate idea of the thickness of the layer you are applying and thus be able to have a better idea of the thickness of the layer. A thickness of 150 to 180 microns (0.15 to 0.18 mm) guarantees a fine finish, which respects the instrument’s own vibrations, while at the same time protecting it, avoiding excessive thicknesses.
- Always apply thin coats. Allow to dry for 24 hours and sand between coats. Apply in crossed coats to spread the product well. Apply at a distance of approximately 15 to 20 cm.
SAFETY RECOMMENDATIONS
- Apply in ventilated or extracted areas. Wear protective gloves, clothing, goggles and mask. Wash thoroughly after handling. After eye contact: Rinse cautiously with water for several minutes. Remove contact lenses when present and easy to do. Continue rinsing. Highly flammable liquid and vapours. Causes skin irritation. Causes serious eye damage. May cause drowsiness or dizziness.


David S. (verified owner) –
Luis Garcia (verified owner) –
Emeric C. (verified owner) –
Leon (verified owner) –
Valentin Verchin (verified owner) –
Jose R. (verified owner) –
Un buen kit para cambio de color, suficiente para varias capas
David Alcazar Delgado (verified owner) –
No cubre del todo
Antonio Mendez (verified owner) –
Pintura de alta calidad , de muy fácil aplicación y excelente resultado si se siguen las instrucciones de fabricante .
Repetiré!!
Gracias
Gabriel Garcia Martí (verified owner) –
He repintado una telecaster de color aged vintage white y barniz mate y se me ha quedado chulísima, muy bonito el color, el acabado final de la pintura mejor imposible.
Paolo P. (verified owner) –