In this blog post we want to show you step by step how to carry out the process of painting a guitar from scratch.
This process is the same for any of the colors in our catalog, it only differs in small modifications that we will indicate throughout the explanation depending on whether it is going to be spray-painted or spray-painted and if we want a solid color or the grain to be seen. From the wood.
We have a kit for this process, just choose the color you would like and complete the order. You can buy it in the link that I have left you previously.
1.- GUITAR PREPARATION
– The wood must be free of imperfections and stains.
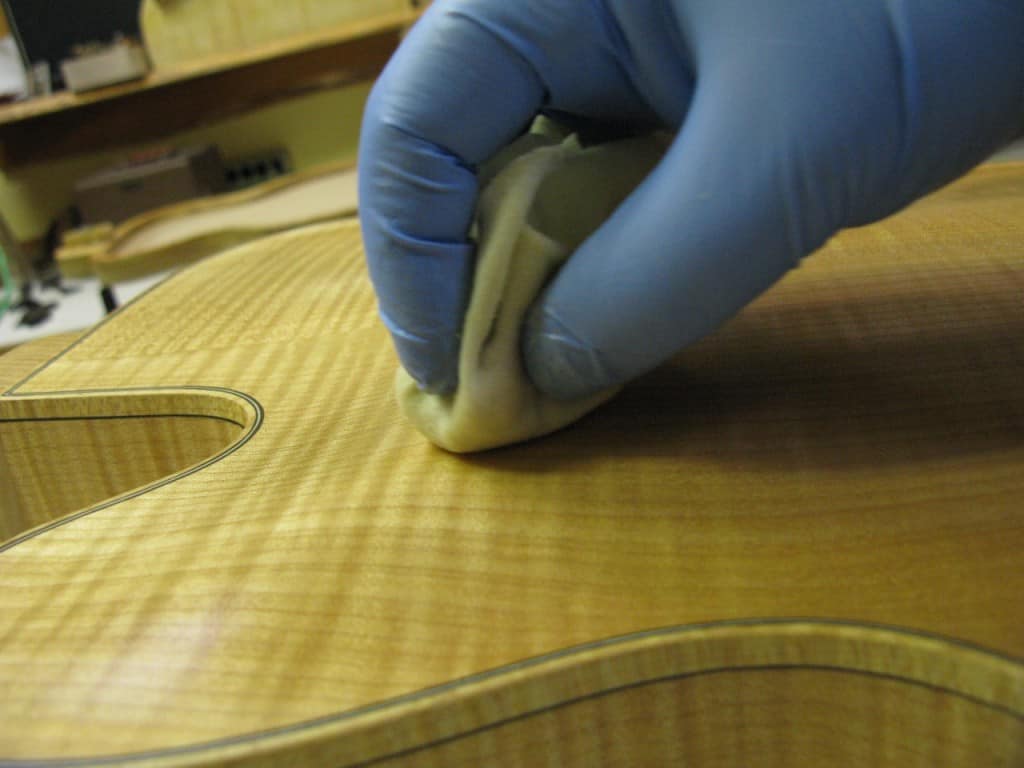
– Woods with a lot of pore such as ash or mahogany, whenever a closed pore finish is desired, a grain filler can be applied to fill the pore, this product can be found in our store.
You have a video on the product with an application tutorial.
– Once the pore is filled, or in the case of woods with little pore we sand with P320 and P400 grit until obtaining a uniform surface, always in the direction of the grain.
– The objective of this first step is to achieve a perfectly smooth surface without defects or roughness to proceed with the application of the first undercoats.

2.- APPLICATION OF THE WHITE OR COLORLESS BACKGROUND – NITORLACK PRIMER
The background is the layer of varnish that will build the base of the finish, providing a uniform surface. We will use a colorless background if the color that we are going to use shows the grain of the wood or a white background if we want a solid color.
-We will sand with P800 grain between coats. Minimum application of 3 coats is recommended. We will apply the product until we see that there are no imperfections, it is perfectly level and the pore of the wood is completely closed.

3. HOW TO APPLY THE COLOR TO YOUR GUITAR
We apply layers of color by sanding between them with P800, allowing it to dry 24 hours between coats.
In the case of solid colors, it is recommended to apply a minimum of 2 layers, until the entire background is covered and we see that the color is completely uniform.
If the color is translucent, we will apply layers of product until we achieve the desired intensity.
In either case, be especially careful when sanding the first layers of color to avoid peeling. And especially in translucent colors to avoid color differences.
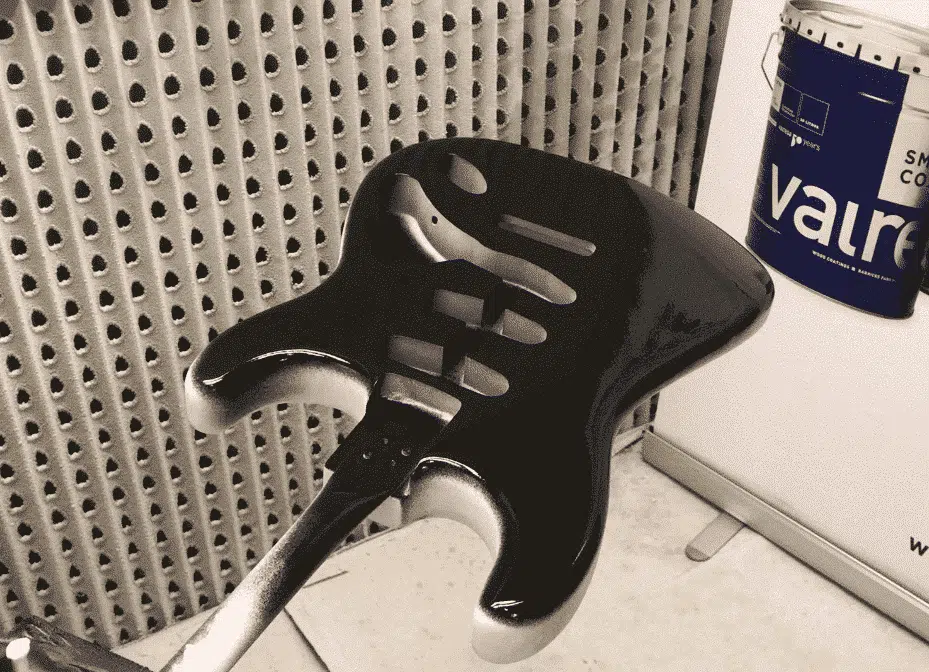
4.- HOW TO APPLY THE GLOSS FINISH – NITORLACK LACQUER
The purpose of the finish is to protect the color, give depth to the finish.
The process of applying the finish is the same as that of the primer. We apply finishing coats by sanding between them with P800, allowing 24 hours to dry between coats. It is recommended to apply a minimum of 3 coats.
Once we see that the finish is completely uniform and the guitar is finished to our liking, it is important NOT to SAND the last layer that we have applied and let it dry for 2 to 3 weeks to be able to polish and achieve maximum shine.
5.- POLISHING
Sand with water in a gradual process with 1200-1500-2000 sandpaper until all the imperfections of the application disappear. You can buy the sandpaper in our store.
Try to sand in a straight line without applying too much pressure so as not to make deep marks that with the polish will be difficult to remove. It is advisable to apply a few drops of soap to the water to facilitate sanding.
Apply a few drops of polish to the surface of the guitar and to the polishing pad.
It is recommended to polish over 1500 to 2000 rpm without applying pressure to avoid overheating the finish. Check the heating regularly during polishing.
The necessary polishes and sponges can be obtained in our store at the following link
Carry out a first polishing process with the white sponge and finish with the black one until you get a mirror shine. Wipe off the polish residue with a cloth and the guitar will be finished.