How to paint a guitar: the complete guide

Painting a guitar correctly is not a difficult job to do, it is simply necessary to have a guide to help us during the process.
In this tutorial we will explain step by step how to paint a guitar professionally in a simple way starting from scratch.
Painting a guitar can be done in different ways and with different materials, in this case we will use the most used way, varnishes and nitro spray paints.
To begin the painting process, it is important to know how to disassemble your guitar correctly, as it is a process that, regardless of the painting process we choose, will always have to be done. Therefore, I recommend you to read this article of our blog before starting this process.
What will you need to paint your guitar?

If you want to replicate the process explained here, you will need the following products:
- Large fountain pen
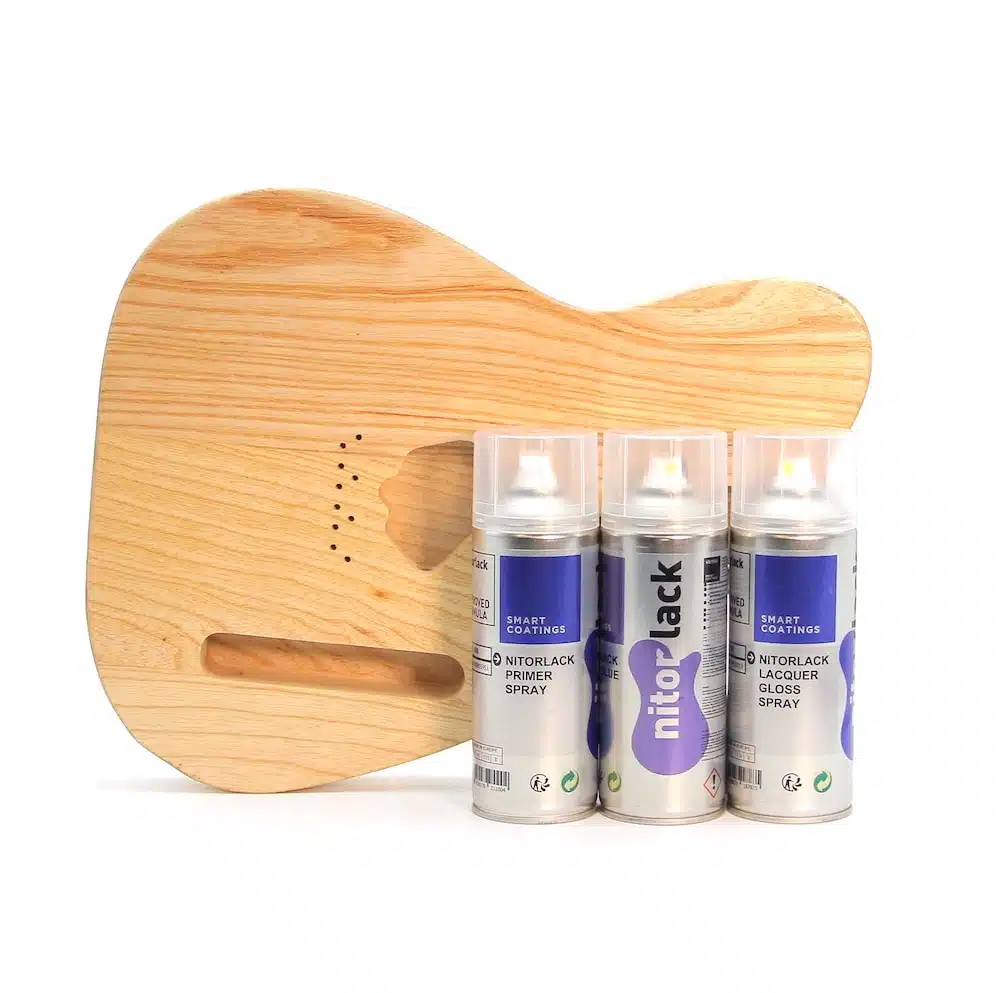
- Lijas 800-1200
- Nitorlack primer
- Paint and spray
- Nitorlack varnish / Nitorlack Golden Age
- Pulimento Mirka polarshine 10 or 5
Here is a step-by-step guide to paint your guitar professionally
1 Phase: Covering the guitar pore
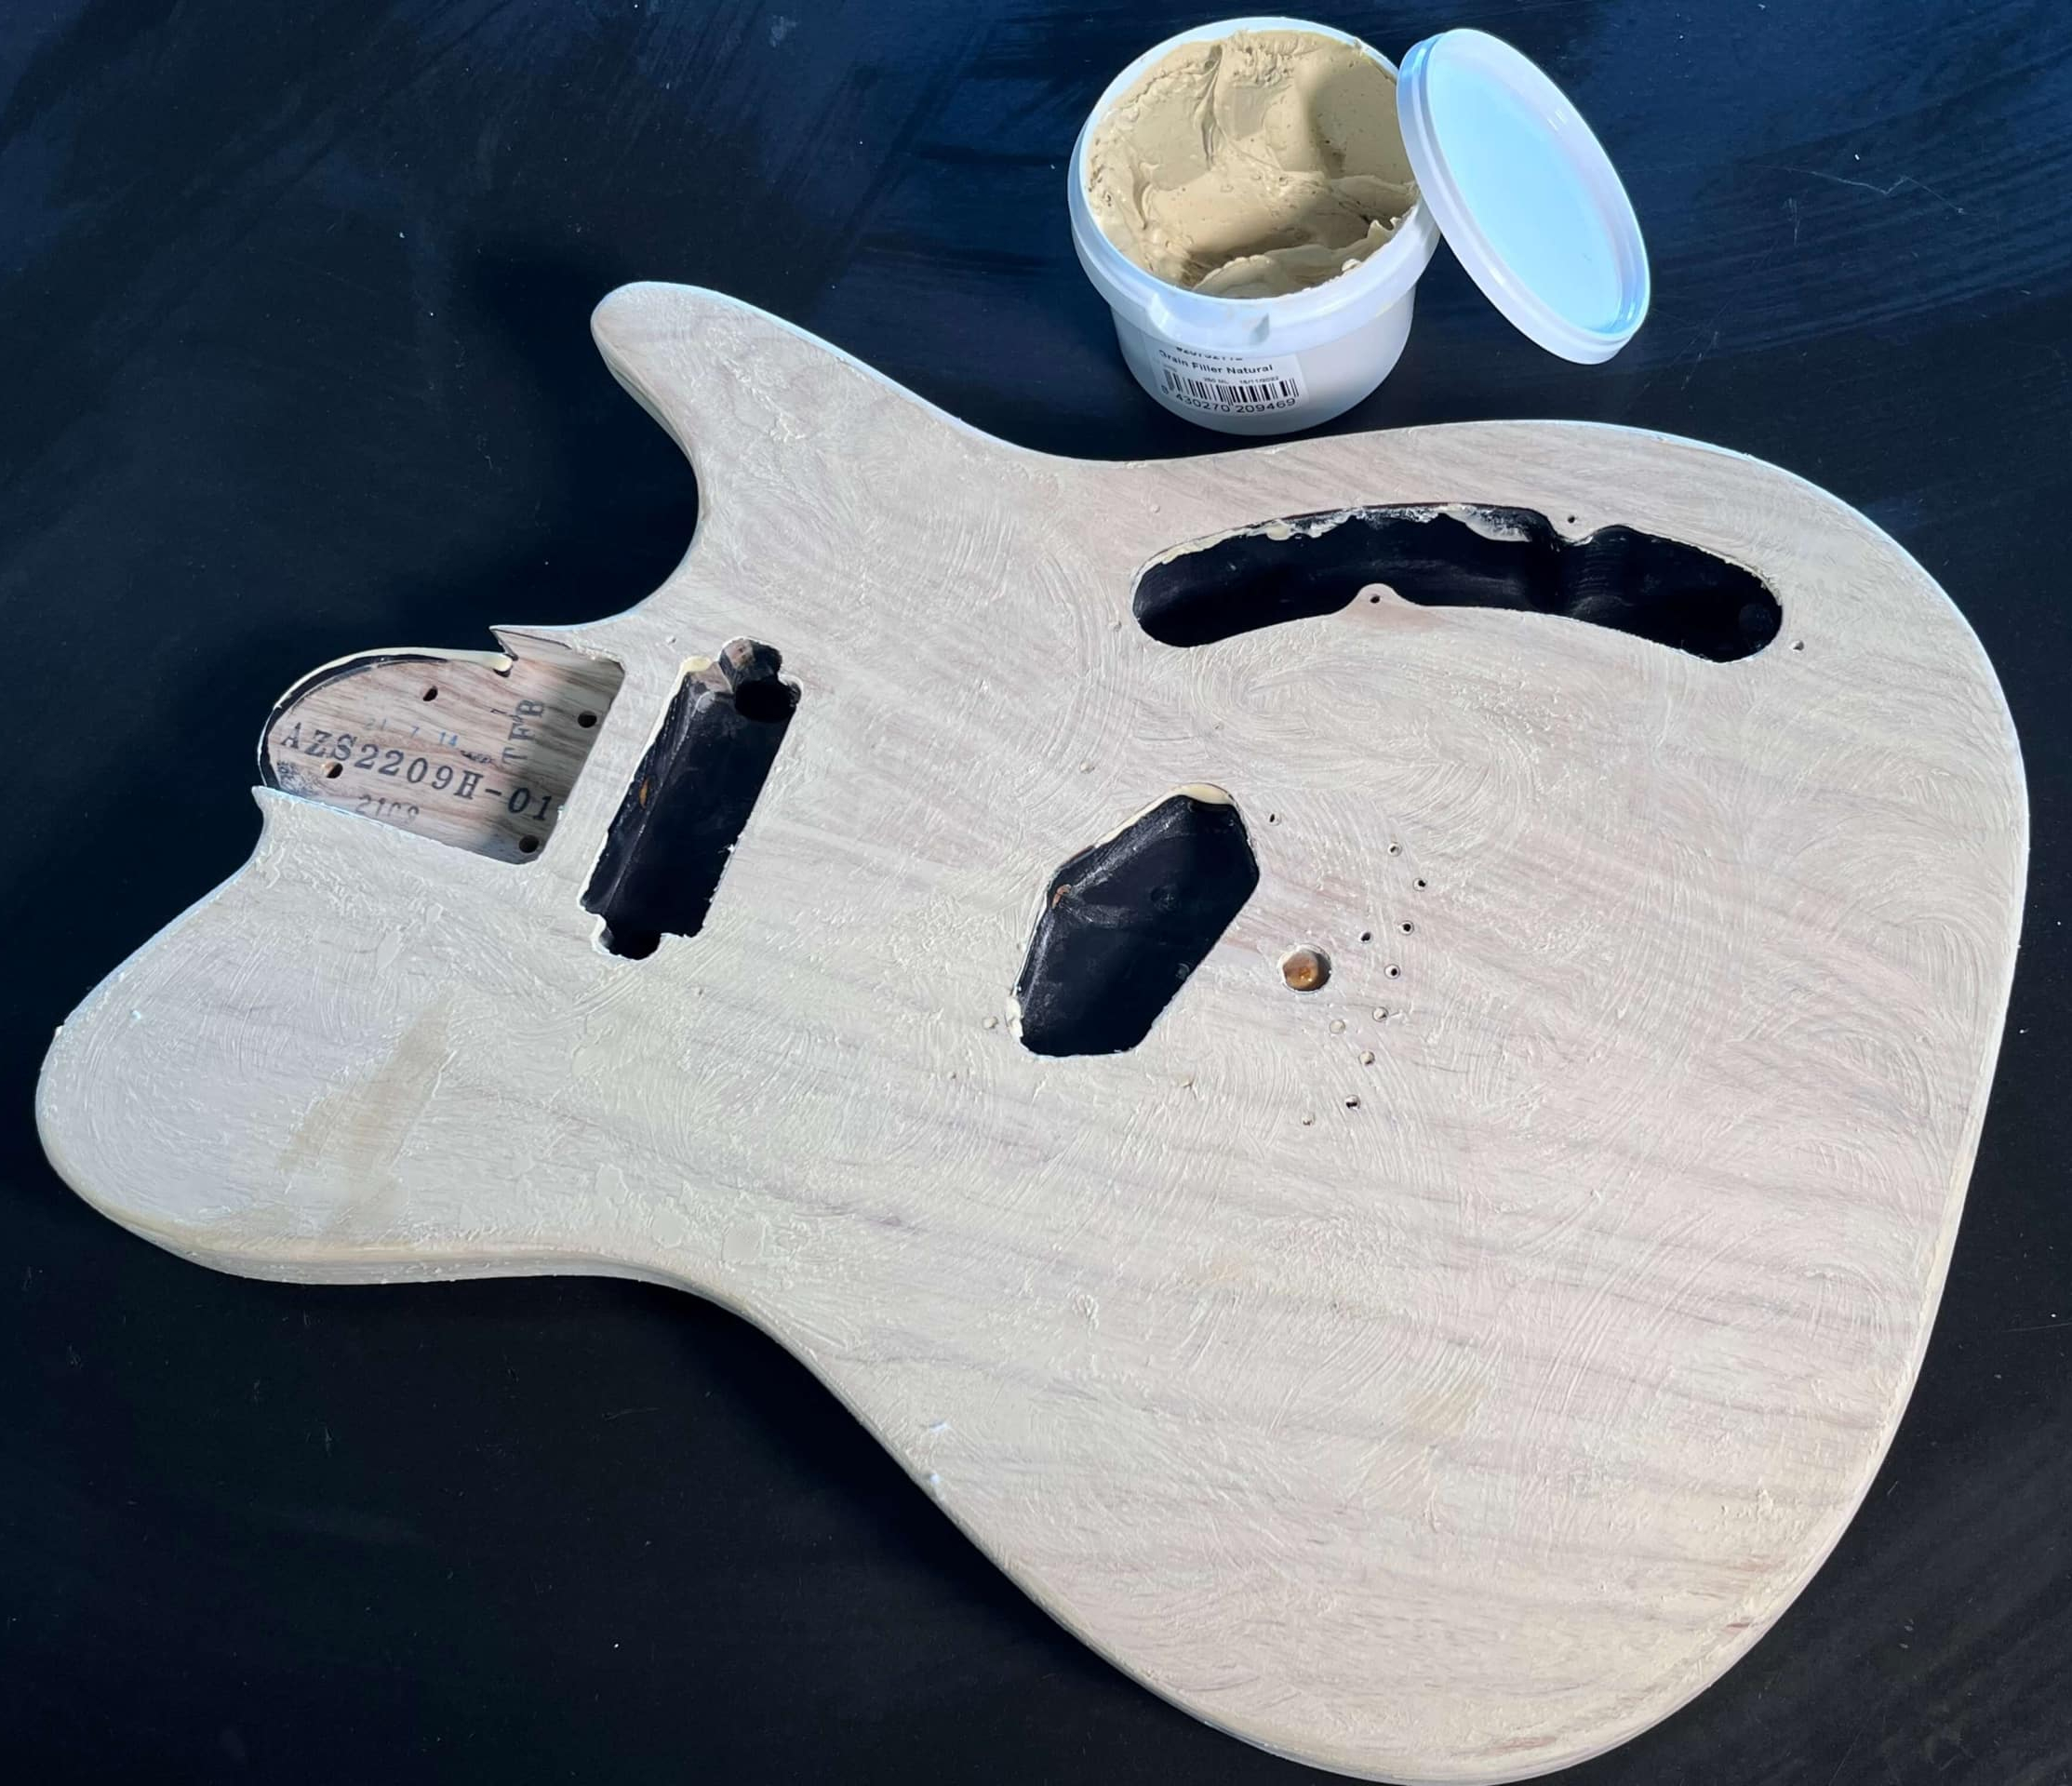
Covering the pore of the wood and leaving it properly sealed will be essential to start the painting project correctly.
If we do this process well the painting and varnishing steps will be easier and will require less layers of product. To start this process we will use the Grain Filler.
This is a Water-based putty and very easy to use. Using this product will save us a few coats of Nitorlack Primer.
In woods with a lot of grain such as mahogany or ash it is recommended, in others such as alder or maple it is not necessary.
Therefore it will not be a mandatory product to use, and can be replaced by a few more coats of Nitorlack Primer.
- We mix the pore filler with water until we get a pasty appearance, then we pour this paste on the guitar and rub it with a cloth or a spatula, and a few minutes later we finish cleaning and sanding.
- Apply the Nitorlack Primer and sand between coats and repeat the process until there are no imperfections.
- If you have used the pore filler, 2-3 coats of primer should be enough, but this will depend on the type of wood of your guitar, as some are more porous than others.
- Finish with 800 grit sandpaper to leave the surface completely smooth.
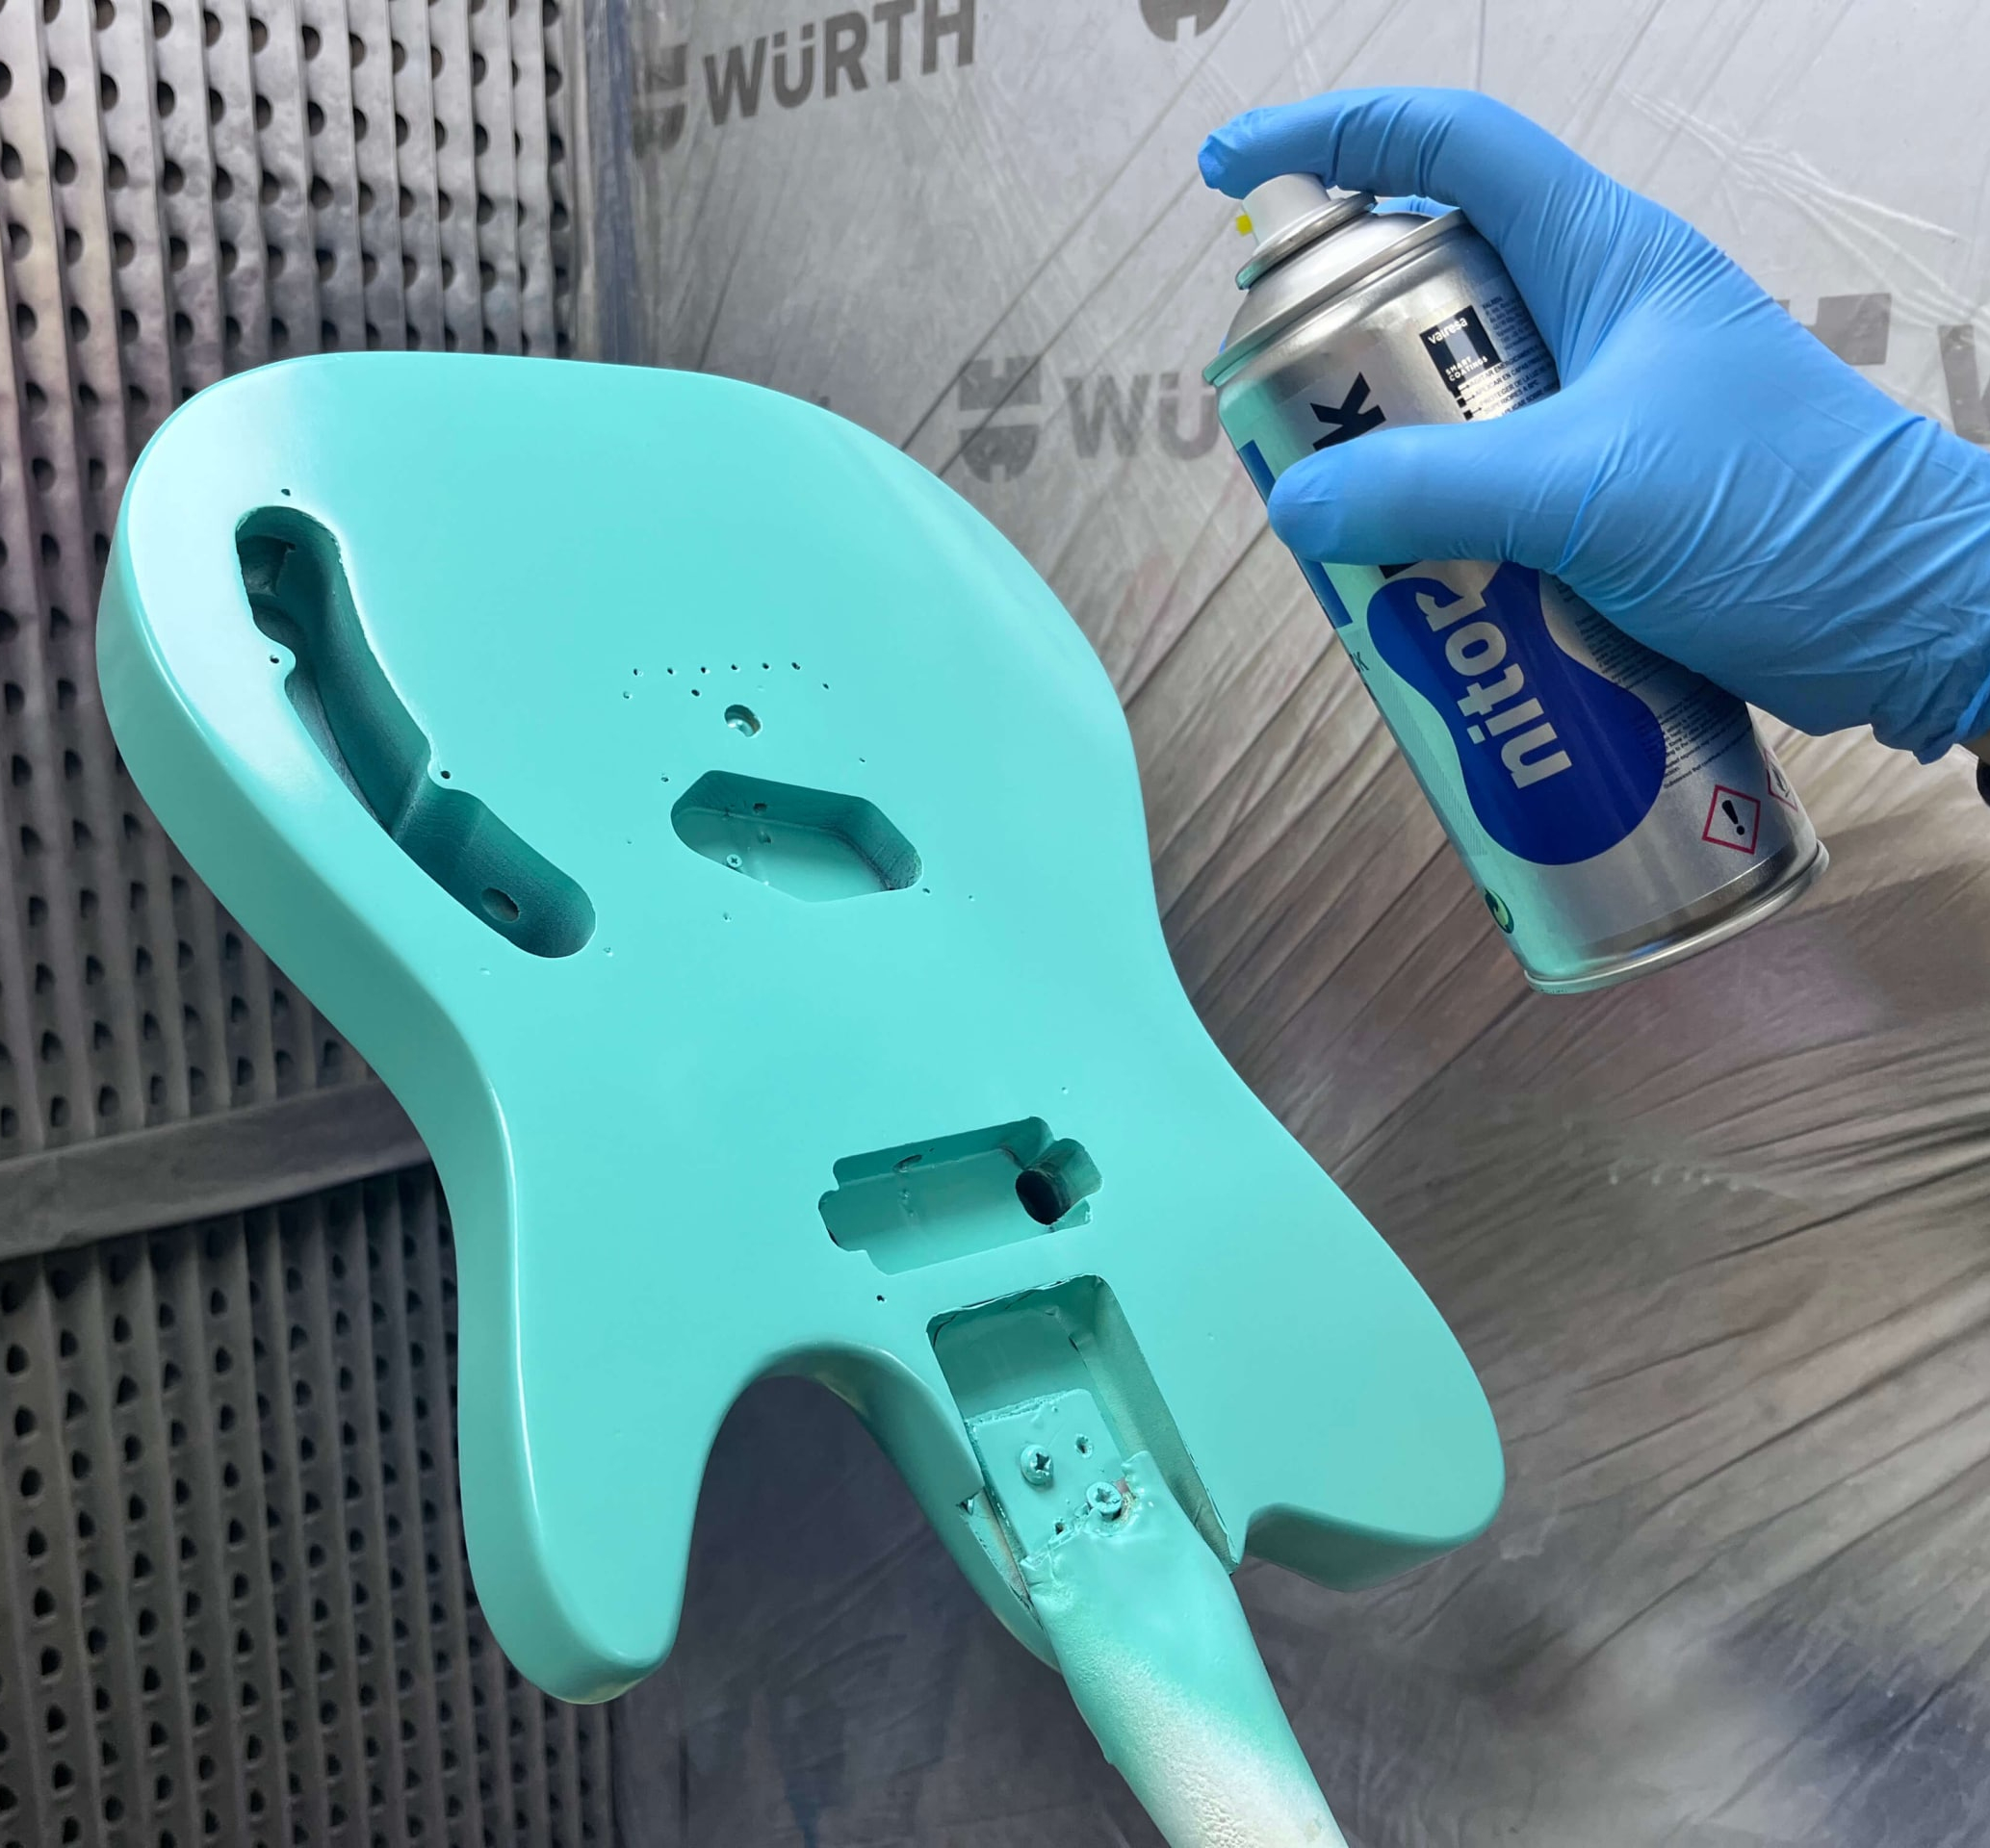
2 Phase: Paint application
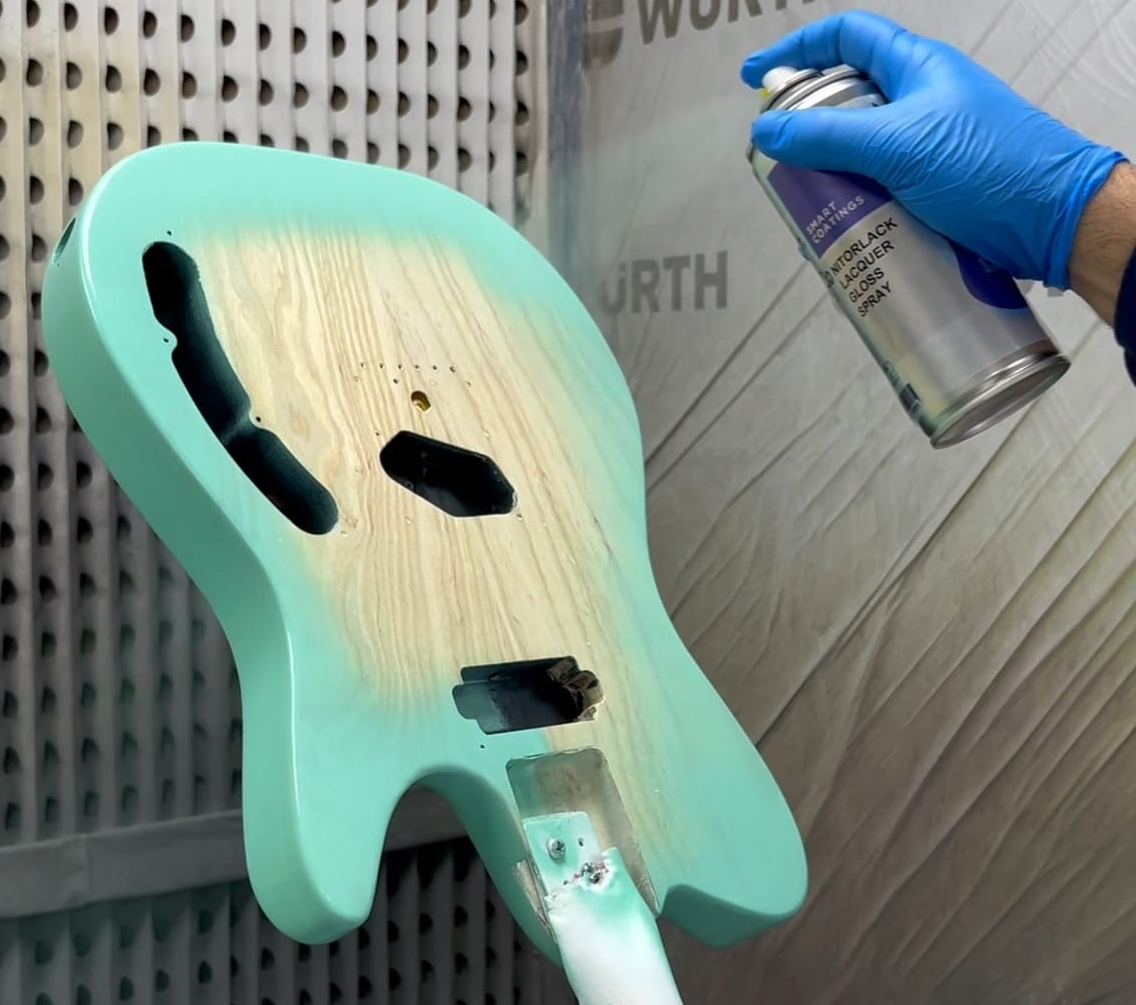
Once the previous steps have been followed correctly we start to apply the color by spray. The color, as well as the background varnish or finish can be used either by spray or with a paint spray gun.
- We start by painting first the edges and then the front and back.
- It is important to apply evenly, making linear movements following a continuous movement pattern. Apply thin layers.
- The distance at which it should be applied should be approximately 25 cm.
- Between coats use a p800 sandpaper to eliminate imperfections.
- Let dry at least 12 hours between coats so that the drying is uniform from the first coat.
- The painting work will be finished when the whole surface of the guitar is covered with paint and free of imperfections.
- Finish with 800 grit sandpaper to leave the surface completely smooth.
3 Phase: Application of the finish on the guitar
This phase will be important, since the final aspect of the guitar will depend on it. We will use Nitorlack Lacquer.
- We must follow the same steps as in the previous process, in terms of application distance, drying time, sanding, etc.
- It is important to carry out all the phases of the project in a clean and dry place, without high humidity. With temperatures ranging between 15 and 30 degrees. If these conditions are not met, the final result may be negatively affected.
- With this phase we will be able to protect the color and give depth to the finish.
- Sand with P800 between coats until a uniform finish is achieved. Apply at least 3 or 4 coats of Nitorlack Lacquer Golden Age.
- Wait 12 hours between coats for a correct drying and apply thin coats.
4 Phase: (optional): Final sanding and polishing of the guitar.

When applying the varnish to the guitar, small imperfections such as dust specks, small orange peels, etc. may appear.
etc. that many times is not important, but if you want to obtain a totally professional finish you can perform a sanding and polishing process. For this we must wait 21 days after the last application to be able to sand and polish with security that the nitrocellulose finish is completely dry. The process will be as follows:
- Perform a sanding process with P800, P1200, P1500 and P2000 sandpaper. You can do it dry or with some water and soap.
- The trick is to get a completely smooth and shaded final surface, if you see some small shiny areas is because the imperfections are still there, work on that area (being careful not to get to the color).
- Once the surface is completely matted and we have finished with P2000 sandpaper we can move on to the POLISHING process.
- We use Mirka Polarshine 10 with the white polishing sponge. With this step we will get a mirror shine and remove all the P2000 sandpaper marks.
- If we want an extra shine and remove possible holograms we will use Mirka Polarshine 5 with the black polishing sponge.
- Clean gently with a microfiber cloth and we will have our guitar finished.
5 Phase (optional): Aging of the guitar:
This phase is optional, you can choose whether you want to age the guitar or not.
The process of cracking and aging of the varnish is done by temperature changes. Before that, if you want, you can give some small blows on the finish imitating “war wounds” of the guitar by its use, in this way, due to the difference in surface tension some of the lines will be directed towards the blows making the cracking and aging more real.
After this process, we proceed to crack the varnish using the following method.
- We put the guitar in a freezer at a temperature of -20 degrees for 12-24 hours.
- The wood will shrink during this process and will cause the nitro, not being flexible, to break.
- At this time, when the guitar has just come out of the freezer, the lines are more open and we will have to take advantage to mark and highlight them.
- Spread with a cloth some kind of water-based dye or bitumen of judea, and remove all the excess with the cloth. With this process we will mark more the crazing and we will age the blows that we have given at the beginning, making everything more real.
- We can repeat the cooling process more times if we want to obtain more cracks.
Following these steps you should have finished your painting job in a simple way. Below is a video of the complete process. If you have more questions about how to do it do not hesitate to contact our personalized support and we will help you.