

Sunburst finish for guitar
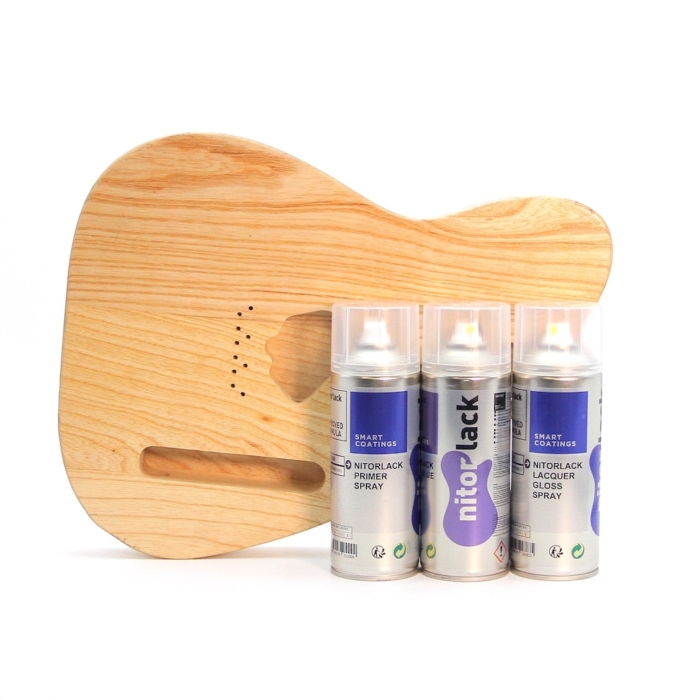
1- GUITAR PAINT PREPARATION
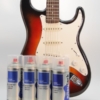
- We start from a guitar body already primered and prepared to apply the sunburst kit.
- You can see the entire preparation process and buy the products with this kit
2- YELLOW BASE TINT APPLICATION
- We will sand with P800 grain until the entire guitar is perfectly tinted, with this we will achieve a perfectly smooth base with a grip for the yellow tint.
- We apply NitorTint Yellow Spray evenly on both sides of the guitar, crossing the application to make it as uniform as possible, it is not necessary to apply the edges because we will cover it later
- We fix the stain with 1 thin coat of NitorLack Primer
- Let it dry for at least 1 hour. (preferably 2 to 3 hours)
3- BLACK TINT APPLICATION
- We will sand with P800 grain until the entire guitar is tinted, be careful not to get the yellow tint, we run the risk of peeling
- We apply NitorTint Black Spray along the edge of the guitar until it is covered. Try to apply from the inside out so as not to stain the center.
- If a drop of dye falls in the center that we want to remove, we will now do it by sanding with P800 very soft. Always before setting the dye.
- Once finished, we fix the stain with 1 thin coat of NitorLack Primer
- Let it dry for at least 1 hour. (preferably 2 to 3 hours)
4- RED TINT APPLICATION
- We will sand with P800 grain until the entire guitar is tinted, be careful not to get the yellow or black tint on the edges, we run the risk of peeling
- We apply NitorTint Black Spray between black and yellow. Try to apply from the inside out so as not to stain the center.
- If a drop of dye falls in the center that we want to remove, we will now do it by sanding with P800 very soft. Always before setting the dye.
- Once finished, we fix the stain with 1 thin coat of NitorLack Primer
- Let it dry for at least 1 hour. (preferably 2 to 3 hours)
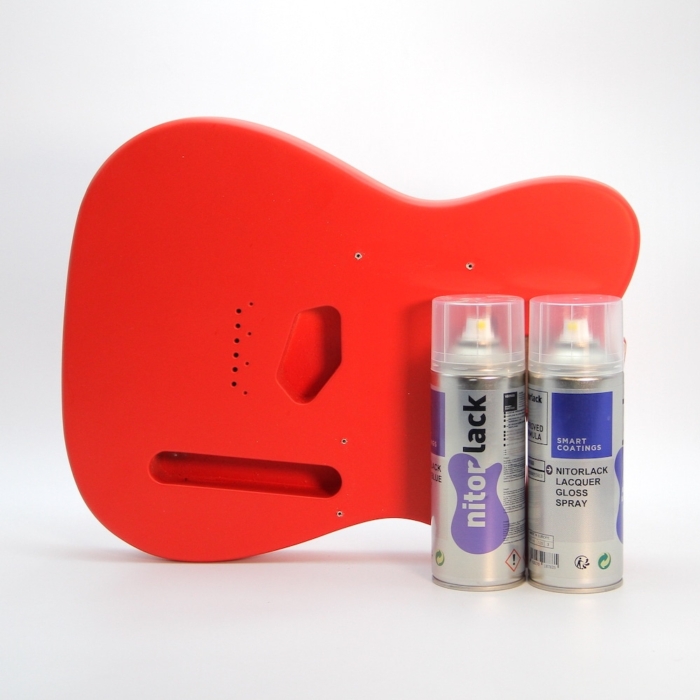
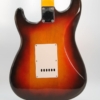
5- FINAL FINISHING OF THE GUITAR
- You can see the entire finishing process and buy the products with this kit
GENERAL RECOMMENDATIONS
- Shake the sprays vigorously for 3 to 5 minutes before application. Apply to a witness surface before doing it on the guitar.
- A finish with Nitorlack, depending on different factors, should have a total of 6 to 10 coats in total, counting background – color – finish, with a minimum of 3-4 coats of gloss finish. This will give an approximate thickness of 150 microns (0.15mm) depending on how much is sanded, how much lacquer is applied to each coat, and what thickness of finish is desired.
- If an instrument has not been finished beforehand, it is advisable to apply about 9 to 12 coats, so that you will be sure not to sand or polish the finish excessively, leaving parts with “bare” wood. As more experience is gained with the product and finishing method, fewer coats will be required and finer finishes can be achieved.
- If when applying it happens that you accidentally have a “sag” or “drip”, the finish must be allowed to dry for 24 hours and level by sanding with P400 sandpaper, preferably on a block of hard material. You can also “cut” the drip with a razor blade, a faster method and with which accidents that can cause excessive sanding are avoided. To become familiar with the process, it is a good idea to do tests on scrap wood, in order to evaluate for yourself the characteristics of the process of finishing a guitar with “Nitorlack” guitars.
- It is also advisable to use a “witness” surface on which to apply the lacquer layers at the same time as on the piece to be finished. A piece of paper glued with masking tape to a rigid support (wood, thick cardboard) is a suggestion. Thus, by first measuring the thickness of the paper with a caliper and then measuring the resulting thickness of the successive layers once dry, you will have a fairly accurate idea of the thickness of the layer that is being applied and thus be able to have a more accurate idea of the thickness Of the same. A thickness of 150 to 180 microns (0.15 to 0.18 mm) guarantees a fine finish, which respects the vibrations of the instrument, while protecting it, avoiding excessive thicknesses
- Always apply thin coats. Let dry 24 hours and sand between coats. Apply in crossed hands to distribute the product well. Apply with a distance of approximately 15 to 20 cm.
SAFETY RECOMMENDATIONS
- Apply in ventilated places or with extraction. Wear protective gloves, clothing, glasses and a mask. Wash thoroughly after handling. In case of eye contact: Rinse carefully with water for several minutes. Remove contact lenses when present and can be done easily. Continue with the wash. Highly flammable liquid and vapor. Causes skin irritation. Causes serious eye damage. May cause drowsiness or vertigo
If you want to know the best practice to paint your guitar, In nitorlack you have the best tutorials and videos made by a professional.