The importance of the guitar polishing process and its impact on the final finish.
In the guitar manufacturing and restoration industry, painting is only the beginning of the aesthetic transformation of the instrument. Although the application of a high-quality coat of paint is a very important phase, it is the polishing process that really takes the finish of a guitar to the next level. Polishing not only brings out the natural brilliance and beauty of the instrument, but also plays a crucial role in removing imperfections and creating a smooth, even surface.
A proper polishing process can therefore take the perceived quality of the guitar up several notches in the eyes of any amateur or professional.
In this article, we will discuss the polishing process in depth, from the essential tools and materials to the advanced techniques to achieve a perfect result. We will look at how polishing affects the final finish and why it is an essential step if you want to build or refinish your guitar and have it look high quality.
Step-by-step polishing process and necessary products:
- Compound Cut Polish
- Superfinish polish
- Sandpaper in all grit sizes, especially 1500, 2000 and 3000 grit.
- Polishing sponge white: Available in 80 mm and 150 mm.
- Polishing sponge black: Available in 80 mm and 150 mm
- Rhyno plate: Available in 80 mm and 150 mm
1- Surface preparation:
When you start a polishing process, you will start from an already varnished guitar. This may have a better or worse finish, and therefore will have more or less irregularities on the surface.
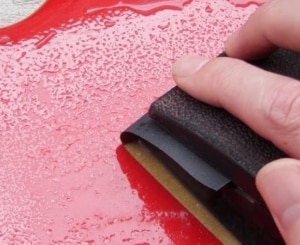
If the surface is well varnished and has hardly any irregularities, we will only use 2000 and then 3000 grit sandpaper. With the 2000 grit we will leave the surface completely uniform, and with the 3000 grit we will eliminate the very fine lines that may have been left by this sandpaper.
If the guitar has more irregularities such as specks of dust or orange peel, start sanding with 1000 grit and then continue with 1500-2000 and finish with 3000 grit.
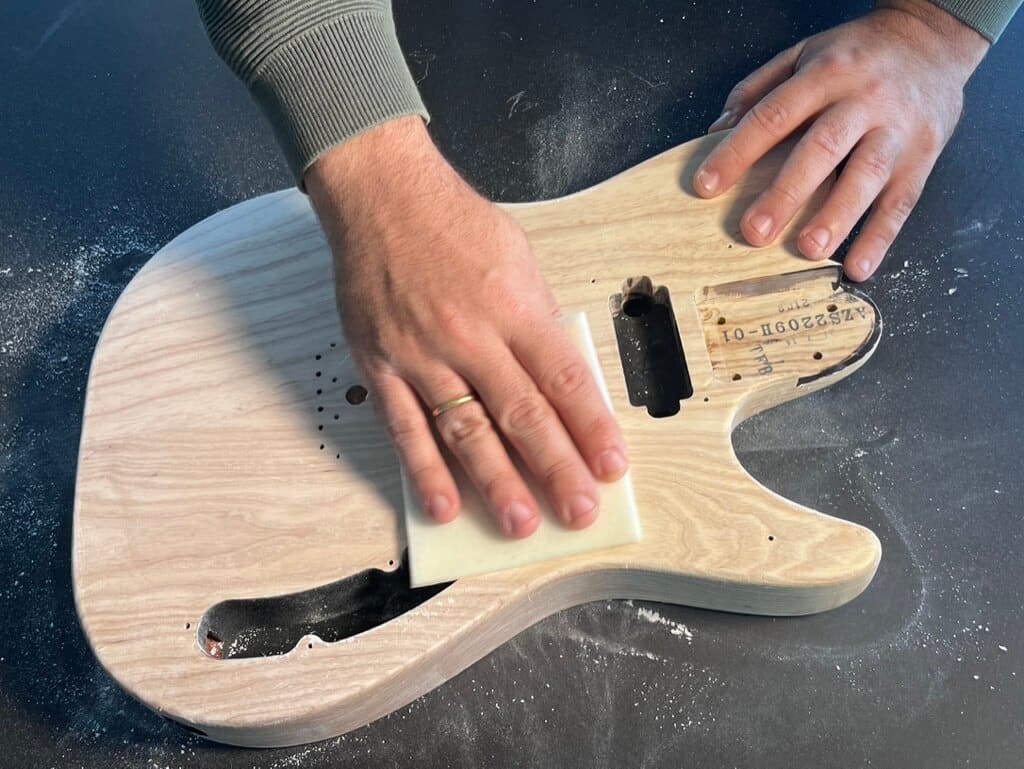
It is important to sand until the surface is completely smooth and even. The surface is ready for polishing when it is fully matted and there is no visible sheen or unevenness.
2- Compound Cut and Superfinish application:
It is important to know that our polish consists of 2 phases and to obtain a high gloss it will be necessary to combine both.
The first step is to shake the bottle vigorously until the product has a creamy appearance.
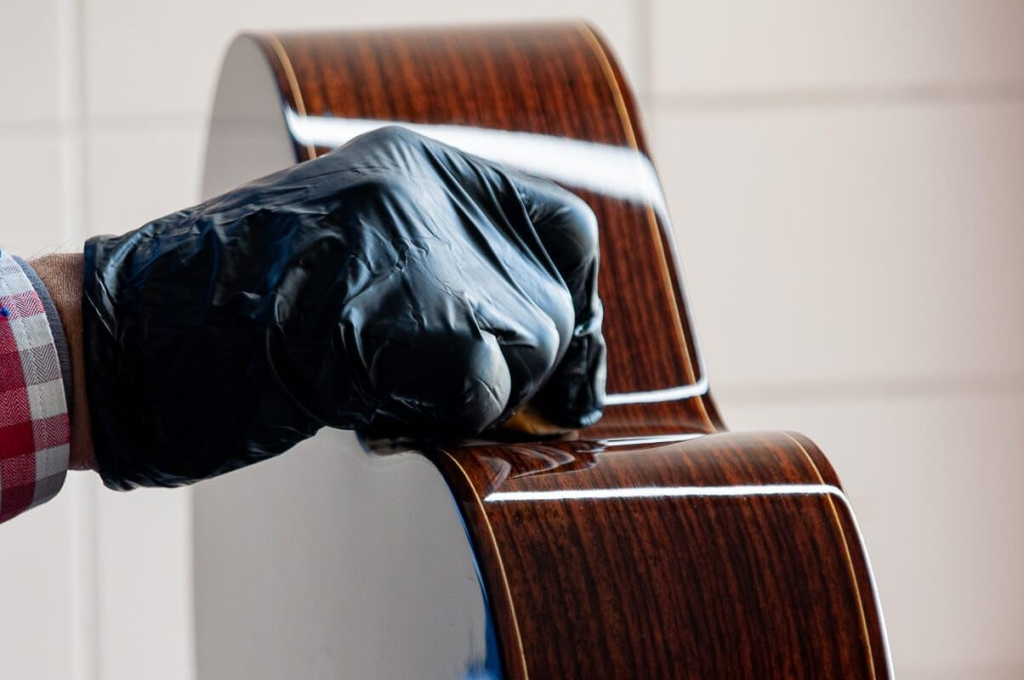
- Distribute the product over the entire surface, leaving a thin layer of polish on the entire surface and start polishing with the white sponge (cut). Before moving on to the next step, it is important to wipe off the excess polish with a cloth.
- Be careful not to overheat the surface, do not polish at too high a speed and do not apply too much pressure.
- Repeat the process with Superfinish polish and the black sponge. With this type of sponge and polish, we will achieve a high degree of surface gloss close to 90 % in most cases.
3- Surface cleaning and tuning:
Once you have reached this point, the polishing job will be done but you will not see your guitar as shiny as you initially thought. This is because you still need to clean off the excess polish.
To do this you will only need a cloth and some Polish & cleaner to dampen the surface. Once all these steps have been followed, the shine should be very high.

Common mistakes:
– Not respecting progressive sanding: sanding too coarsely without reaching 3000 grit or skipping sanding steps can result in not getting a good shine, can cause scratches that are difficult to remove by polishing..
- Solution: Use sandpaper with the right grit and apply a lot of pressure. Make smooth, steady movements and check progress frequently to avoid removing too much material. It is very important not to make grain jumps. Make the process 1000-1500-2000-3000
–Uneven application of pressure: Applying uneven pressure with the polisher can cause an uneven finish and overheat certain areas of the surface.
- Solution: Keep the polisher in constant motion without overheating any area and apply pressure evenly.
–Insufficient polishing: Not polishing enough can leave a dull, dull surface with visible imperfections.
- Solution: If you want to make sure you don’t make the mistake and at the same time don’t overdo it, do the process in short intervals and repeatedly, and you’ll make sure the process looks good as you go along.
Failure to clean between the Compound Cut and Superfinish application process: Failure to clean the surface thoroughly between these stages can result in the build-up of old compounds and residues, affecting the final finish.
- Solution: Wipe the surface with a clean microfibre cloth after each polishing stage to remove any residue before moving on to the next compound.
Advanced techniques in the polishing process:
Here are some of the advanced polishing techniques that you can use to achieve better results:
- Wet Sanding Techniques:

- Combining 1500, 2000, 3000 grit sandpaper with water reduces the risk of deep scratches and makes for a smoother surface. You can also substitute water for Polish & Cleaner to wet the surface of the guitar with water before you start sanding.
- Use lights to inspect the surface:
- Detect Imperfections: Use high intensity LED lights to highlight any imperfections or scratches that need to be addressed during the polishing process.
- Checking Progress: Regularly inspect the surface with lights to ensure that the desired level of smoothness and gloss is being achieved.
- Application of additional coats of polishing compound:
- Multi-phase compounds: This is the use case for our two-phase polish. Starting with a more abrasive compound and finishing with fine compounds, for a deeper and longer lasting shine.
- Sequential polishing: Perform polishing in several stages, cleaning the surface between each one, to ensure that each layer of compound has maximum effect.
Polishing for the correct maintenance of the guitar:
The polishing work does not have to be done only when a guitar is painted. As the instrument we use over time, and even if we try to take good care of it, it tends to accumulate small scratches and marks from use. Therefore, if a shiny look is what you are looking for in your guitar, a polishing process from time to time will help you to correct any small imperfections and enhance this shiny look.
The subsequent maintenance is also important and for this we recommend using Polish & Cleaner, which, despite not being a polish, has particles in its composition that help to clean without damaging the varnish and enhance the shine.
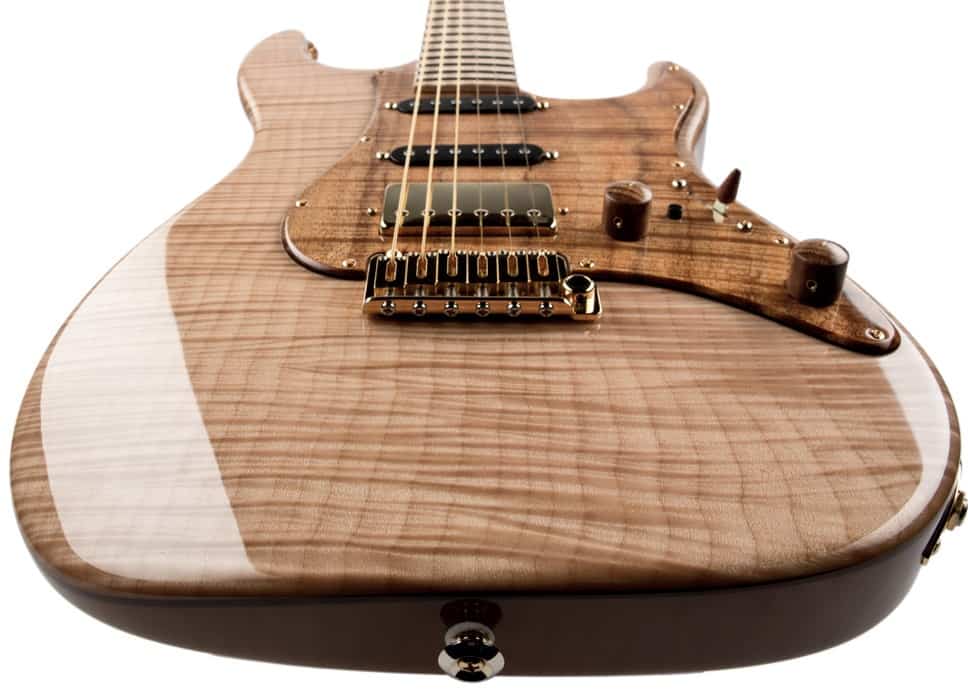
Therefore, and based on everything developed throughout this article, we consider that polishing the guitar after the painting process is essential and will greatly influence the final appearance of the guitar.
Here are 2 video tutorials where a polishing job is done on 2 different guitars.


