0.- Materials Needed:
– Wet cloth
– Sandpaper Grit: 240 – 400 – 800 – 2000
– 480,051 Solvent Dye Color Orange-red (medium or slow 54421 540424) / 410021 + 410022 Water Dye
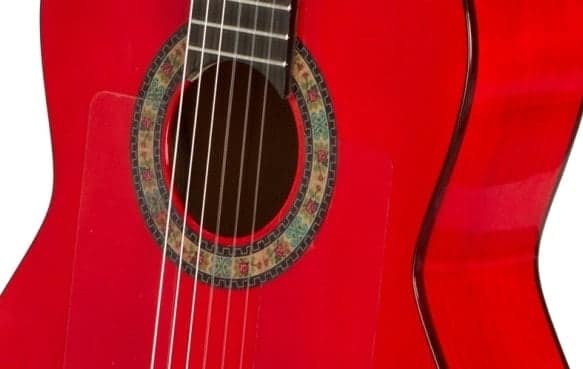
Reddish-Orange Color
– 220073 Nitro High Gloss Finish
– Polisher + polishing paste (medium and fine)
1. Substrate Preparation:
Remove repelo: Pass a cloth dampened with water over the entire surface of the guitar, once dry guitar proceed to sand it lightly.
Sanding: will sandpaper with 240-400 grit sandpaper to remove repelo generated by swelling of the plate with water. Always use sandpaper with foam to control the pressure of sanding and so as not to damage the plate, especially on the edges and profiles.
Phase 2. Tinting:
If we apply to Pistola: We will apply the dye directly to the wood always means lowered with slow 540424 540421 or solvent to achieve highlight the grain of our plate as possible. Always apply the dye in two or three passes to cross-match color across the surface (and wait for it to dry after applying each hand). To dye the water we can apply the stain of a pass and if necessary clean with a cloth excess excess dye.
If we apply to Wipe: When we apply a rag undercut the slow solvent dye 540424. In this case we will not use the solvent medium, to give us time to apply the dye properly, reviewing and if necessary junctions or not the notice overlaps color in your application. To dye the water proceed as solvent.
Note: The cloth should not have fibers or hairs that they are then hooked to the wood.
Dye Formula:
Solvent dye (3 passes)
Quick concentrated orange dye cod. 480 051:
10% of concentrated dye + universal solvent medium evaporation cod. 540421
Dye water (3 passes)
Dye concentrate to water:
Cod. 410021 Red, put in the following ratio = 20%
Cod. 410022 Amarillo, put in the following ratio = 30%
The remaining 50% water.
Note: We always advise not concentrate much dye to apply in several passes and avoid failures in the application of color excess color, or color stripes (although this water with dyes is more difficult to pass). The concentration indicated is to give the color within 2 or 3 passes. If you want to give a hand you can dilute less. For example the dye solvent (Solvent 4 parts by orange dye) and dye water (60% and 40% yellow red)
3. Sealing phase:
To apply sealant hand, we will use in this case the same glossy finish that work subsequently to the finish, for several reasons:
a) Due to its transparency, as it is finished to excellent transparency so we will gain in vivacity and color depth.
b) wettability, to penetrate into the pore perfectly white pore avoid problems.
c) By the merger of (thin) layers, the fusion between layers is excellent in this material, so get not alter the natural sound of the guitar, and unify in a single hand all the lacquering process.
The application is very simple, undercut the finish between 25% – 30% with Thinner 540421 Middle gun and apply to “cross-hand” (means to apply first from left to right and then top to bottom). Let dry 4 to 6 hours to settle well varnish, and give you a second hand lowered only 5% -10%.
Phase 4. Finish:
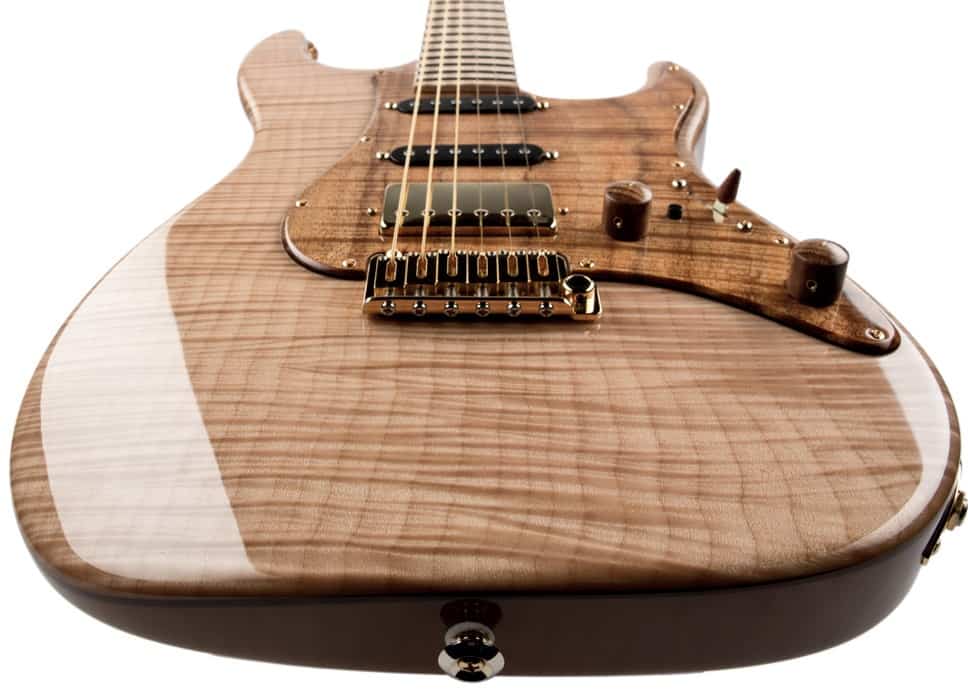
Once dry sealing the first phase, we always recommend very smoothly sanded with P800 grain to leave the surface ready for the finishing phase. The finish is advisable to apply a thin hands and never in thick layers. It is also recommended sanding between coats to better refine the surface and get a better fusion between them, even if it fits. Repeat this process until you get the perfect finish (gloss, opacity and stretchability)
Phase 5. Polishing:
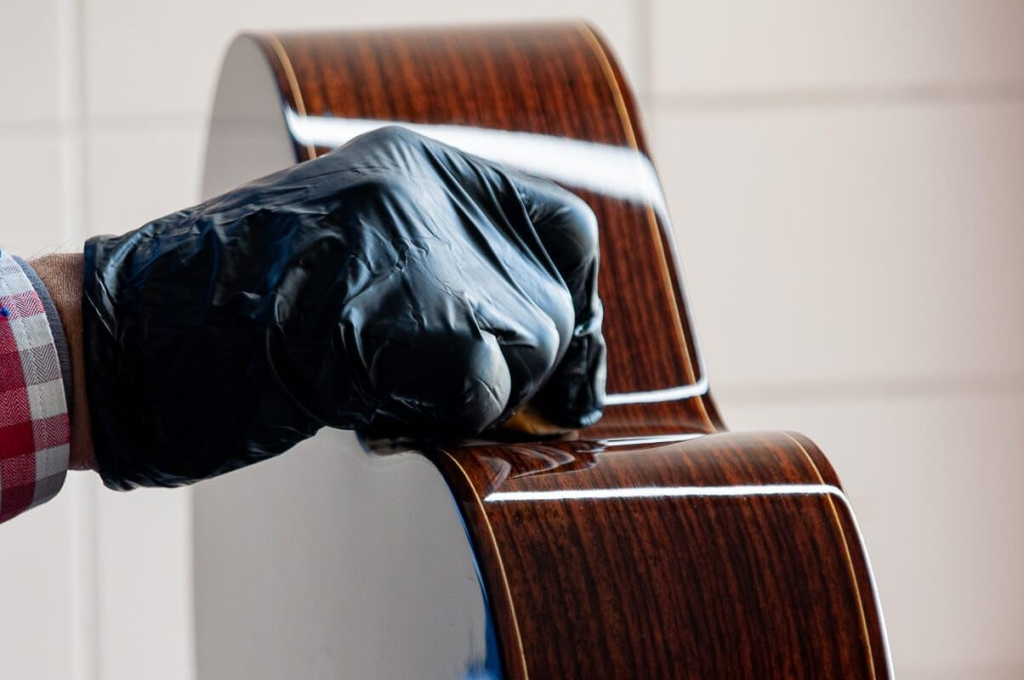
Finally, although not necessary if highly recommended, proceed to polishing our guitar. This will need to wait 3 to 4 weeks for the nitro finish get the right hardness to be polished. Note: polyurethane finishes polishing (Cod.120139) will only be sufficient to wait 48 hrs.
First puliremos with average polishing paste, in order to remove impurities and imperfections thicker and later work with the polishing paste thinner.
Avoid over heating the guitar polish.


